Key Point: Vector → Embroidery Format
Embroidery machines don't directly use AI or EPS files. You need to:
- 1.Start with vector file (AI, EPS, or SVG)
- 2.Have it digitized (converted to stitch format)
- 3.Save as embroidery format (PES, JEF, EXP, etc.)
- 4.Load into embroidery machine
Understanding Embroidery Machine Formats
Different embroidery machine brands use different proprietary file formats. Your embroidery digitizer will convert your vector artwork to the format your specific machine uses.
Common Embroidery File Formats:
| Format | Machine Type | Common |
|---|---|---|
| .PES | Brother Embroidery Machines | ✓ |
| .JEF | Janome / Elna Machines | ✓ |
| .EXP | Melco Embroidery Machines | ✓ |
| .VIP | Husqvarna Viking / Pfaff | ✓ |
| .HUS | Husqvarna Machines | ✓ |
| .XXX | Singer Embroidery Machines | ✓ |
| .AI / .EPS | Digitization Software Source | Source |
Your machine's manual will specify which format(s) it accepts. Check before commissioning digitization.
Step 1: Start with Vector Artwork
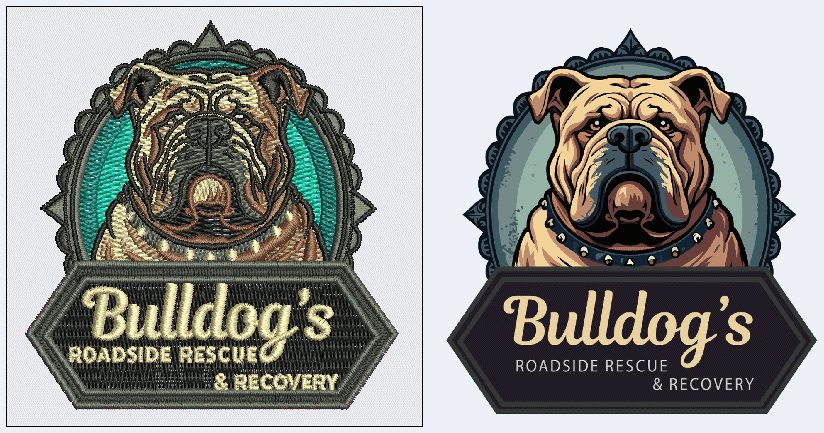
The foundation of good embroidery is good vector artwork. Before digitization:
Ensure artwork is in vector format
AI, EPS, or high-quality SVG. NOT JPG or PNG.
Convert fonts to outlines
Digitizer needs shapes, not editable text.
Simplify the design
Embroidery works better with fewer, bolder elements. No tiny details.
Use solid colors only
No gradients or transparency. Each color = separate thread.
Step 2: Digitization
Digitization is the process of converting vector artwork into stitch patterns. This is where expertise matters.
What Digitizers Do:
- Convert vector paths into stitch sequences (individual needle positions)
- Set stitch density (how close stitches are – affects look and durability)
- Create thread changes between colors
- Ensure design embroidery correctly on fabric without puckering
- Handle underlay (foundational stitches for stability)
Manual vs Auto Digitization:
Manual Digitization (Professional)
Expert digitizer creates stitches by hand. Better quality, more expensive. $50-$500+ per design.
Auto Digitization (Software)
Software (like Wilcom, Tajima) converts vectors automatically. Faster, cheaper ($20-$100), but lower quality for complex designs.
Design Considerations for Embroidery
Size Requirements
Small embroidery: 1" x 1" to 4" x 4" (hat logos, small patches)
Medium embroidery: 4" x 4" to 8" x 8" (shirt front logo)
Large embroidery: 8"+ (jackets, large patches)
Tip: Smaller = more detail possible. Larger = simpler designs work better.
Stitch Count (Important for Cost)
Total number of stitches in design affects machine time and cost. More stitches = more expensive and slower embroidery.
Low: 0-5,000 stitches (simple logos, text)
Medium: 5,000-15,000 stitches (detailed logos, illustrations)
High: 15,000+ stitches (photo-realistic embroidery, complex designs)
Detail & Line Weight
❌ Avoid:
Tiny details (embroidery can't capture them), thin lines (looks fragile), gradients (can't stitch color changes smoothly)
✓ Do:
Bold, clear shapes with minimum 1/8" width, solid colors with clean separation, simplified designs
Step-by-Step: From Vector to Embroidered
Prepare Vector File
Save artwork as AI, EPS, or SVG. Convert fonts to outlines. Keep it simple.
Send to Digitizer
Share vector file with professional digitizer or use auto-digitization software.
Digitizer Creates Stitch File
Converts artwork to stitch patterns in your machine's format (PES, JEF, EXP, etc.)
Request Proof/Sample
Many digitizers create small sample stitches. Review before full production.
Download Machine File
Receive final digitized file in your embroidery machine's format.
Load into Machine
Transfer file to machine via USB, SD card, or network. Start embroidering!
Common Questions
Q: Can I use online auto-digitization?
Yes, for simple logos. However, professional manual digitization produces better results for complex designs. Try auto-digitization first for quick/cheap options.
Q: How much does digitization cost?
Auto digitization: $20-$100 per design. Professional digitization: $50-$500+ depending on complexity and digitizer experience.
Q: What if my embroidery machine format isn't listed?
Check your machine manual. There are 50+ formats total. Professional digitizers can typically convert between formats.
Related Articles
Continue learning with these related guides